Good body measurements for clothes are not about reducing a person to a set of numbers. They are a way to make size charts, online orders, and occasional alterations less of a gamble. With a soft tape, a mirror, and a few minutes of patience, shoulder, waist, and hip measurements become reliable notes you can actually reuse.
Prepare so the numbers describe an ordinary day
Use a flexible fabric tape measure rather than a metal builder's tape. Wear close-fitting clothing or measure over underwear, and stand on a level floor with your feet about hip-width apart. Thick denim, a bulky sweatshirt, and heavy shapewear change the circumference enough to make an otherwise careful measurement misleading.
Find the shoulder measurement without guessing
Take measurements at a normal time of day if possible. A waist can feel different after a meal, and posture often changes when you are tired. That does not make any result wrong; it is a reason not to hold your breath or tense your abdomen in pursuit of a number that only exists for ten seconds.
Measure hips at the fullest point
Have a notebook or phone note ready. Record the unit—centimetres or inches—alongside the number, then use that same unit when reading a size chart. Mixing units is a surprisingly common reason an order looks wrong before it even arrives.
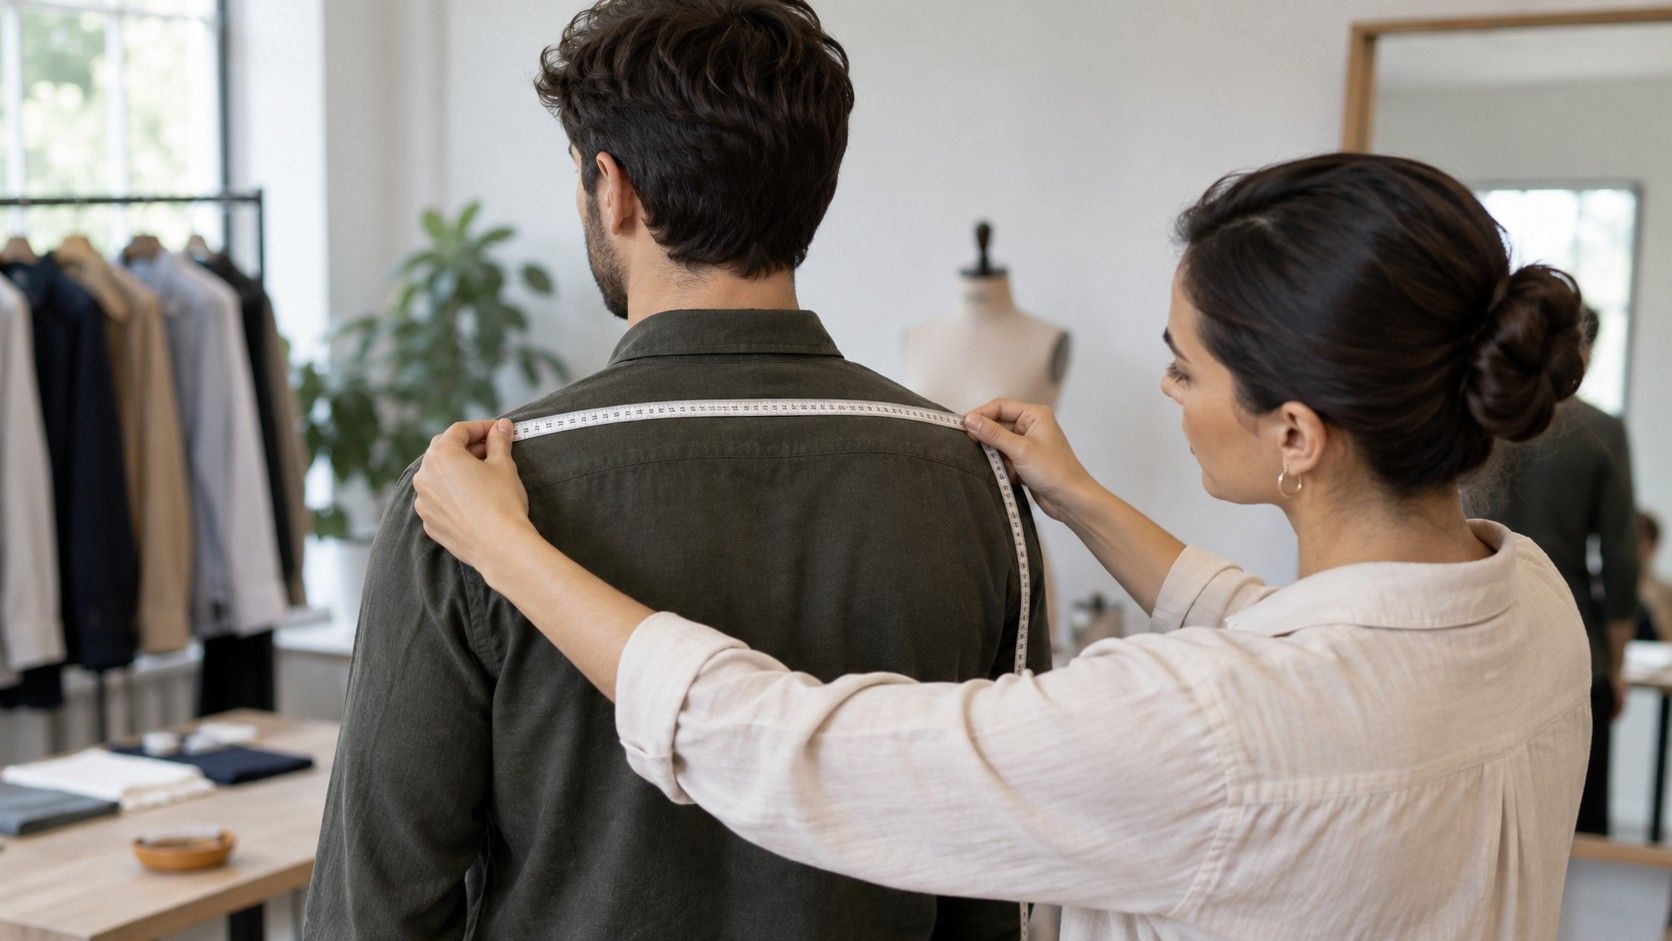
Shoulder measurement is usually taken across the back, from one outer shoulder point to the other. The shoulder point is where a shirt's shoulder seam should meet the natural edge of your shoulder, before the arm curves down. It is much easier to locate in a fitted T-shirt than in a loose jumper.
Ask someone to help if you can. Stand relaxed with arms down while they lay the tape across your upper back, following the gentle curve rather than pulling it diagonally toward the neck. Measuring yourself in a mirror is possible, but it often makes one shoulder lift and shortens the result.
Check how a well-fitting shirt sits afterward. If its seam lands just beyond your shoulder point, note whether that is intentional ease or a sign the shirt is too wide. Brand size charts may call for shoulder width, garment shoulder width, or neither, so read the column heading carefully.
| Measurement | Landmark | Reliable technique |
|---|---|---|
| Shoulders | Outer shoulder point to outer shoulder point across the back | Relax arms; get help or use a fitted shirt as a reference |
| Waist | Natural crease between ribs and hips | Bend gently sideways to find it; keep the tape comfortable |
| Hips | Fullest point around hips and seat | Use a side mirror to keep the tape level |
| Bust, if needed | Fullest part of the chest | Keep tape parallel to the floor and breathe normally |
Measure the waist where your body bends
The natural waist is not necessarily where your favourite trousers sit. To find it, stand straight and bend gently to one side; the crease that appears between the ribcage and hips is the usual landmark. Return upright and wrap the tape around that line without sucking in or pressing the tape into the skin.
Place two fingers under the tape as a quick tension check. It should touch the body without floating away, but you should still be able to breathe and sit. A very tight waist number may be tempting for a calculator, yet it will be useless for a skirt or tailored trouser that needs everyday ease.
If you shop for high-rise or low-rise bottoms, make an extra note for the actual waistband position as well. Label it clearly—“mid-rise waist at 82 cm,” for example—so it does not get confused with the natural waist later.
For the hip measurement, bring the tape around the fullest part of the hips and seat. This point is often lower than people expect. Turn sideways in a mirror and slide the tape a little up and down until it reaches the greatest circumference, keeping it level as it passes across the back.
Do not pull the tape tight to make it stay up. If it slips, hold it lightly at the front or ask for help. Thin knits and trousers need room for walking, sitting, and pockets, so a hip measurement is only one half of the sizing conversation; garment ease is the other half.
When a size chart gives a hip range, choose based on the fullest point rather than the place where a waistband happens to rest. A tailor can often take in a waist more easily than they can add room to a closed side seam.
Record numbers in a form you can reuse
Take every measurement twice, with a short pause between attempts. If the readings differ by more than about 1 cm or half an inch, repeat a third time and use the consistent pair. The goal is repeatability, not perfect control over a soft tape and a moving body.
Keep one note with date, units, shoulders, bust if relevant, natural waist, low waist if useful, and full hips. Add practical comments: “blazers need room in upper back” or “jeans fit hip chart, not waist chart.” These notes help more than memorising a label.
Update the record when a familiar garment begins to fit differently or before ordering an item with an unfamiliar size system. There is no need to measure every week; most people need a fresh check only when they are making a purchase or planning alterations.
Avoid the mistakes that make size charts frustrating
The most common errors are measuring over bulky clothes, using the wrong waist landmark, angling the tape, and comparing body measurements with garment measurements as though they were identical. A garment needs ease, so a 30-inch waist on a skirt may not suit a 30-inch body waist unless the chart explains how it was taken.
Do not compare yourself to a model's listed measurements without checking height, garment size, and the brand's fit notes. Photographs hide pins, clips, camera angle, and fabric stretch. Your own well-fitting garment is a better benchmark.
Finally, let the numbers serve the clothes, not the other way round. Use them to narrow options, then check the cut, fabric, return policy, and how the item feels when you move. That is how shoulder, waist, and hip measurements become a practical tool instead of another source of noise.